Your phone’s camera roll is likely filled with blurry photos of lecture slides and whiteboards. You snap them thinking you’ll review them later, but they end up in a digital junk drawer. It’s a common problem for students. You have the information, but it’s trapped in image files, making it impossible to search, copy, or organize. This guide shows you how to turn that photo collection into organized, effective study notes.
Turning pictures into usable text isn’t just a neat trick; it’s a powerful study hack. It saves hours of manual typing and helps you create comprehensive materials for exams. By using simple tools to extract text, you can build a searchable knowledge base from every class you attend. This approach transforms your study process from passive photo-taking to active learning and revision.

Real-World Scenarios for Students
Let’s explore a few common situations where converting images to text can make a huge difference in your academic life. These scenarios highlight how a simple tool can solve major study challenges.
Use Case 1: The Final Exam Cram Session
It’s the week before finals, and you’re staring at a semester’s worth of lecture slides saved as photos on your phone. Panic sets in. You have hundreds of images, but no time to re-type everything. Manually creating a study guide would take days you simply don’t have. You need a fast and efficient way to consolidate all this information into a single, searchable document.
This is a perfect time to use a tool to extract text from images. Instead of typing for hours, you can upload your entire folder of lecture photos. The technology scans each image and converts the text on the slides into an editable format. In minutes, you can have all the key terms, definitions, and concepts from the entire semester in one place.
* Benefit: The biggest advantage here is speed. What would have taken days of manual work is done in a fraction of the time. The resulting text document is also completely searchable. Need to find every mention of “mitochondria” or “Keynesian economics”? A simple “Ctrl+F” command instantly locates it, making your revision targeted and effective. This reduces pre-exam stress and helps you focus on understanding the material, not just finding it.
Use Case 2: Creating a Comprehensive Visual Study Guide
Some subjects rely heavily on diagrams, charts, and handwritten formulas on a whiteboard. Think of chemistry, engineering, or art history. A standard photo captures the visual, but the text within it is disconnected. If you want to create a study guide that combines the professor’s diagrams with your own typed notes, you need a way to bridge that gap.
You can use an image-to-text converter to pull the text from photos of whiteboards and complex diagrams. Once extracted, you can paste this text alongside the original image in a document. This creates a rich, multi-format study guide. You can add your own annotations, clarify confusing points, and build connections between the visual information and the textual explanations.
* Benefit: This method helps you create study materials that match your learning style. Visual learners can keep the important diagrams while making the associated text editable and searchable. It allows you to build a complete resource that doesn’t force you to choose between the image and the text. This integrated approach improves retention and makes complex topics easier to understand.
Use Case 3: Streamlining a Group Study Project
Study groups are great for sharing the workload, but they can be chaotic. Different people take notes in different ways. Some type, some write by hand, and many just snap photos of the lecture slides. When it comes to combining these resources, you often end up with a messy collection of files that are difficult to merge into a cohesive study guide for the group.
By setting a group standard to convert all lecture photos to text, you can streamline collaboration. Each member can take their assigned lecture photos, run them through an extractor tool, and add the text to a shared document like Google Docs. This process creates a uniform and consistent base of notes that everyone can access and edit.
* Benefit: This approach saves everyone time and eliminates redundant work. The group can quickly build a comprehensive and collaborative knowledge base for the course. The shared document becomes a single source of truth that is easy to search, edit, and update. It fosters better teamwork and ensures that no critical information is lost in a jumble of unorganized photo files.
A Practical Workflow for Better Notes
Converting your photos is simple. Following a clear process ensures you get high-quality, usable text that you can easily turn into effective study materials.
Step 1: Capture Clear Photos
The quality of your text extraction depends heavily on the quality of your images. You don’t need a professional camera, but you should follow a few best practices. Make sure the lighting is good and avoid shadows covering the text. Hold your phone steady to prevent blur and try to capture the slide or whiteboard from a straight-on angle to avoid distorted text. A clear, well-lit photo will give you the most accurate results.
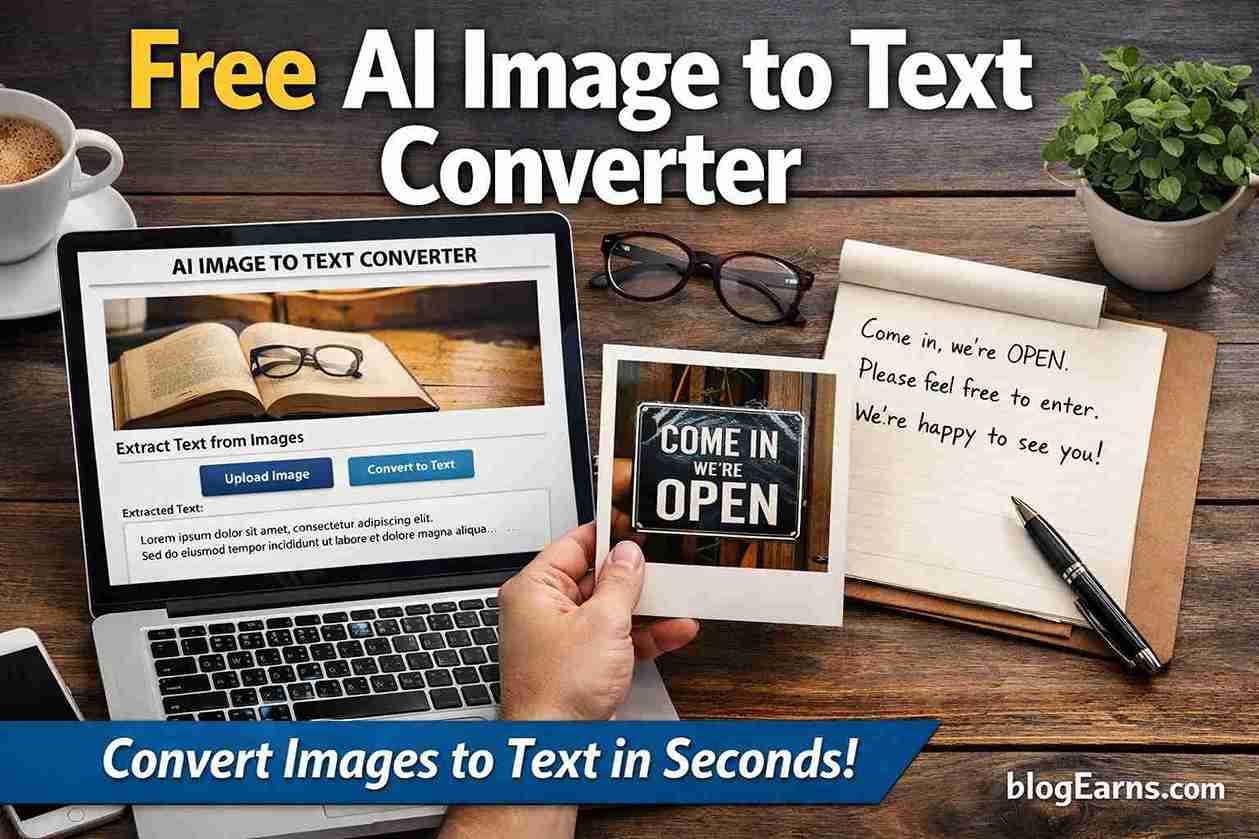
Step 2: Use an AI Tool to Convert Images
This is the core of the process. You’ll need an online tool or app designed for Optical Character Recognition (OCR). An ai image to text converter is designed specifically for this task. The process is straightforward: you upload your lecture photos, and the software automatically analyzes them to identify and extract the text. Most tools allow you to upload multiple images at once, which is perfect for processing an entire lecture’s worth of slides.
Step 3: Review and Edit the Text
No OCR technology is 100% perfect. After the tool extracts the text, take a few minutes to review it. Look for any errors in spelling or formatting, especially with complex vocabulary or formulas. This quick proofread ensures your study notes are accurate and reliable. Most mistakes are minor and can be corrected in just a few minutes, which is still far faster than typing everything from scratch.
Step 4: Organize and Summarize
Now you have the raw text. The final step is to turn it into a powerful study tool. Copy the text into your favorite note-taking app, like Notion, OneNote, or a simple Word document. Start by organizing the information with clear headings and bullet points that match the lecture’s structure. Break down large blocks of text into smaller, digestible chunks.
This is also the perfect time to engage in active learning. Don’t just copy and paste. Read through the extracted text and write a short summary for each main topic. Create flashcards for key terms or highlight the most important concepts. By actively organizing and summarizing the material, you move from passively collecting information to actively understanding it.
Conclusion
Stop letting your lecture photos pile up on your phone without purpose. With a simple workflow, you can transform that digital clutter into an organized, searchable, and highly effective study resource. By converting images to text, you save valuable time, reduce stress during exam season, and create better study materials tailored to your needs. This small change in your study habits can lead to a big improvement in your academic performance. Give it a try and see how it transforms your learning process.